Documentation
Getting started
Install Gisti and press ⌥+Space – no permissions needed to start.
Install
- Get Gisti on the App Store.
- Click Get, then Install.
- Launch Gisti. It lives in your menu bar; there is no Dock icon.
Gisti is distributed on the Mac App Store, so macOS handles installation, code signing, and updates for you: no DMG, no Gatekeeper prompts, nothing to keep up to date by hand.
First launch
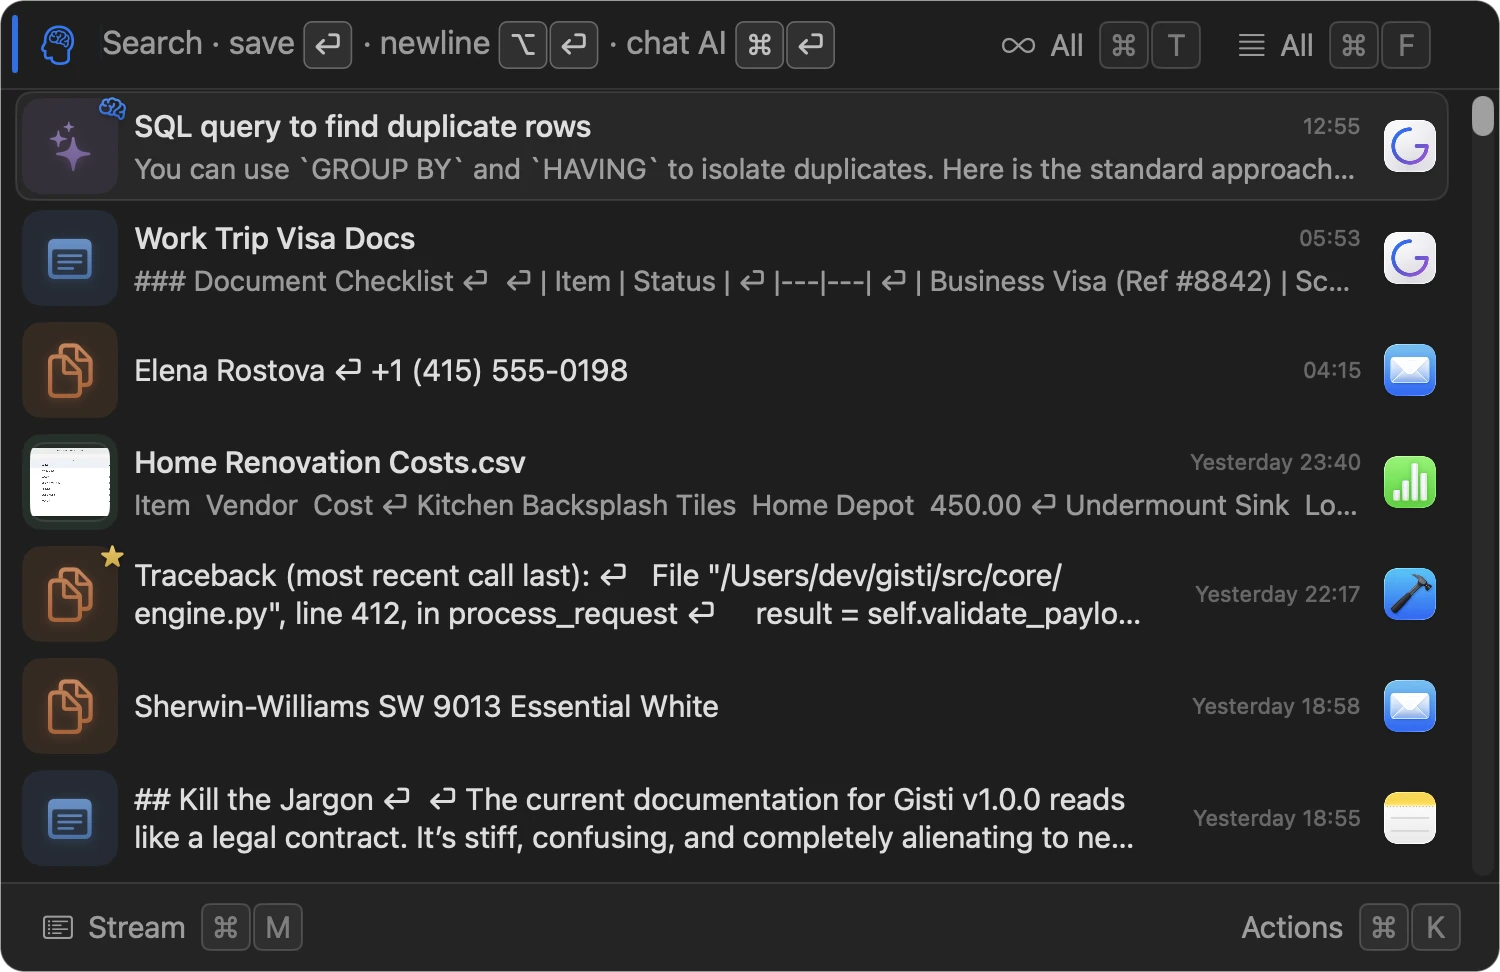
Press ⌥ Space. The Spotlight-like window appears – no permissions to grant first. That window is Gisti. There is nothing else to learn.
The basics
- Type in the input field. ⏎ saves the text as a note. ⌥ ⏎ inserts a new line, ⌘ ⏎ starts an AI chat about it.
- Copy anything anywhere on your Mac, and it lands in the Stream automatically.
- Get it back with ⌘ C on the element, then ⌘ V wherever you need it. ⏎ opens an element rather than pasting it – two settings can make it copy and close the panel instead, see How do I paste from Gisti?
- Press ⌘ K on any element for actions: summarize, copy, favorite, share, export.
- Switch modes with ⌘ 1 (Stream), ⌘ 2 (Topics), ⌘ 3 (Gist).
- Escape closes anything, then the window itself.
Moving the window
Gisti opens centered, a little below the top of the screen, and stays where you put it:
- Drag it by any empty part of its background – there is no title bar to grab.
- It snaps to the edges of the screen and to the guides it opened on: the horizontal line near the top and the two lines that mark a centered window. Dashed guides appear while a snap is in reach, and a trackpad gives a small click when it catches. Drag fast and snapping steps out of the way.
- The position is remembered per display, keyed to the monitor itself – so a laptop that moves between an external screen at the desk and its own screen on the road keeps a sensible spot on both.
- Settings → General → Show Gisti on decides which display it appears on: the one with the mouse, the one with the active window, or the primary one.
- Reset to Defaults in Settings also forgets the saved positions and puts the window back where it started.
The menu bar icon
Gisti’s icon sits in the menu bar, near the clock. It flashes briefly whenever something is captured: a copy, a screenshot, a clip from the browser. Click it for a small menu:
- Open Gisti: show the main window (same as ⌥ Space).
- Take Screenshot: start a capture (same as ⇧ ⌘ X, see Screenshots).
- Monitoring: pause or resume clipboard history without quitting the app.
- Settings: open the Settings panel.
- User Manual: open this documentation in your browser.
- Welcome Guide: reopen the first-launch welcome window.
- Quit: quit Gisti entirely; hotkeys and clipboard history stop until the next launch.
Optional: AI
AI is off until you configure a provider in Settings → AI (⌘ 4). Ollama, LM Studio and MLX run on your own Mac and need nothing but a URL – no key, no account. See AI.
Optional: Semantic search
Also off by default – flip Enable Semantic Search in Settings and Gisti downloads a small local model to start searching by meaning, not just keywords, and clustering your Stream into Topics. No API key, nothing leaves your Mac. See Semantic search.