Documentation
Screenshot viewer
Crop, rotate, zoom, pick colors and drop a backdrop under a screenshot – right in the detail view.
Open any screenshot or image element and it becomes a small, focused image tool.
Tools
-
Crop: drag a selection, resize it by the handles, apply. The original proportions are shown while you drag. The selection always covers whole image pixels, and the arrow keys move it one pixel at a time (⇧ and an arrow moves it ten). While you are drawing one, the same two modifiers the capture overlay uses apply: hold ⇧ to keep the selection on one axis, ⌥ to grow it out from where the drag started. Both take effect the moment you press them, without moving the mouse, and letting go keeps what they did – the selection stays where it is and the drag carries on from there, so you can dial a size in with a modifier and then release in any order. Dragging a handle takes them too, with the meaning handles have everywhere: ⇧ on a corner keeps the proportions, ⌥ resizes around the center. On the four side handles ⇧ does nothing – that handle is there to move one side.
-
Resize: type an exact width and height (the boxes open filled with the current size), or take a scale factor. The number you ask for is the number of pixels you get.
-
Rotate: 90° steps.
-
Zoom & pan: pinch, roll the mouse wheel, or hold ⌘ and scroll to zoom toward the cursor. ⌘ = / ⌘ - step through the zoom levels from the keyboard, and ⌘ \ fills the window with the current selection. Two-finger scroll on a trackpad pans, as does dragging with the right button or holding Space.
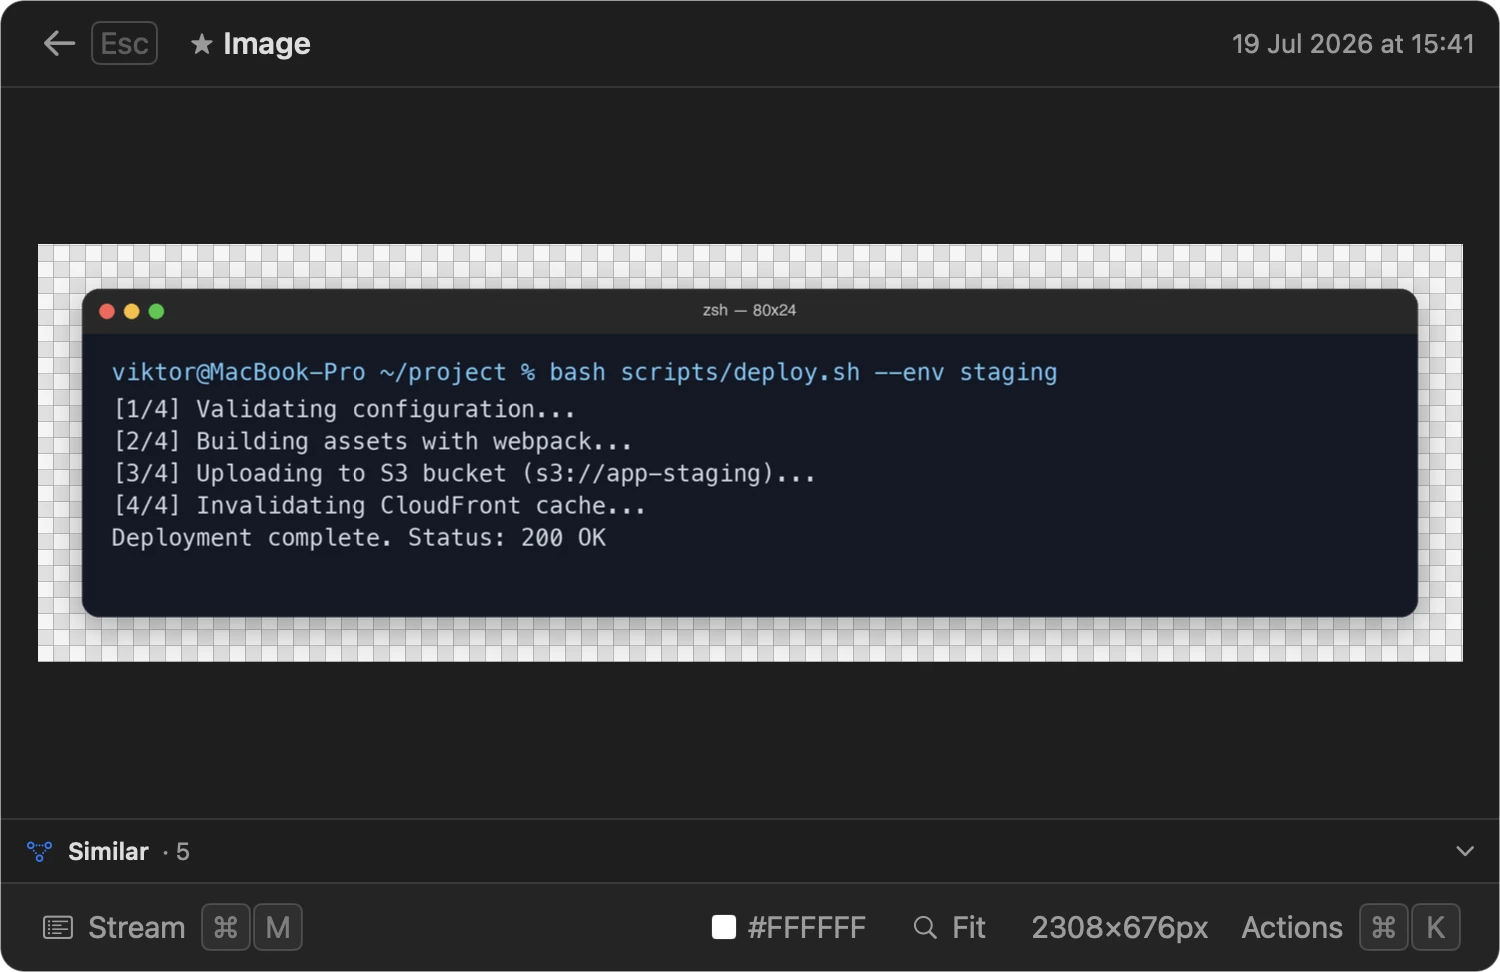
Zooming out stops where the image fits the window; zooming in goes to 6400%, where individual pixels are drawn as sharp squares with a faint grid over them. The status bar shows the magnification as a percentage – click it for the zoom panel, and click the percentage there for 100%. A picture with transparency sits on a checkerboard that covers the whole viewer and stays put while you zoom and pan – it marks the background, not the image, so it no longer travels with the picture. A hairline traces the image’s edge, which is what tells you where a PNG with transparent borders actually begins.
-
Color picker: move the cursor over a pixel and press Tab to copy its color value. The status bar switches the notation between HEX, RGB and HSL; the choice is remembered and is also what the capture overlay’s picker copies.
Resize and Rotate act on the whole image, so while a selection is up they are greyed out and the size panel offers Crop instead – press ⎋ to drop the selection and get them back.
Crop, Rotate, and Resize are toolbar actions with no keyboard shortcut today.
Backdrop
⇧ ⌘ D – or Backdrop… in the Action Menu – opens a strip under the image: a row of backgrounds and four sliders. ⏎ applies it, ⎋ leaves without changing anything.
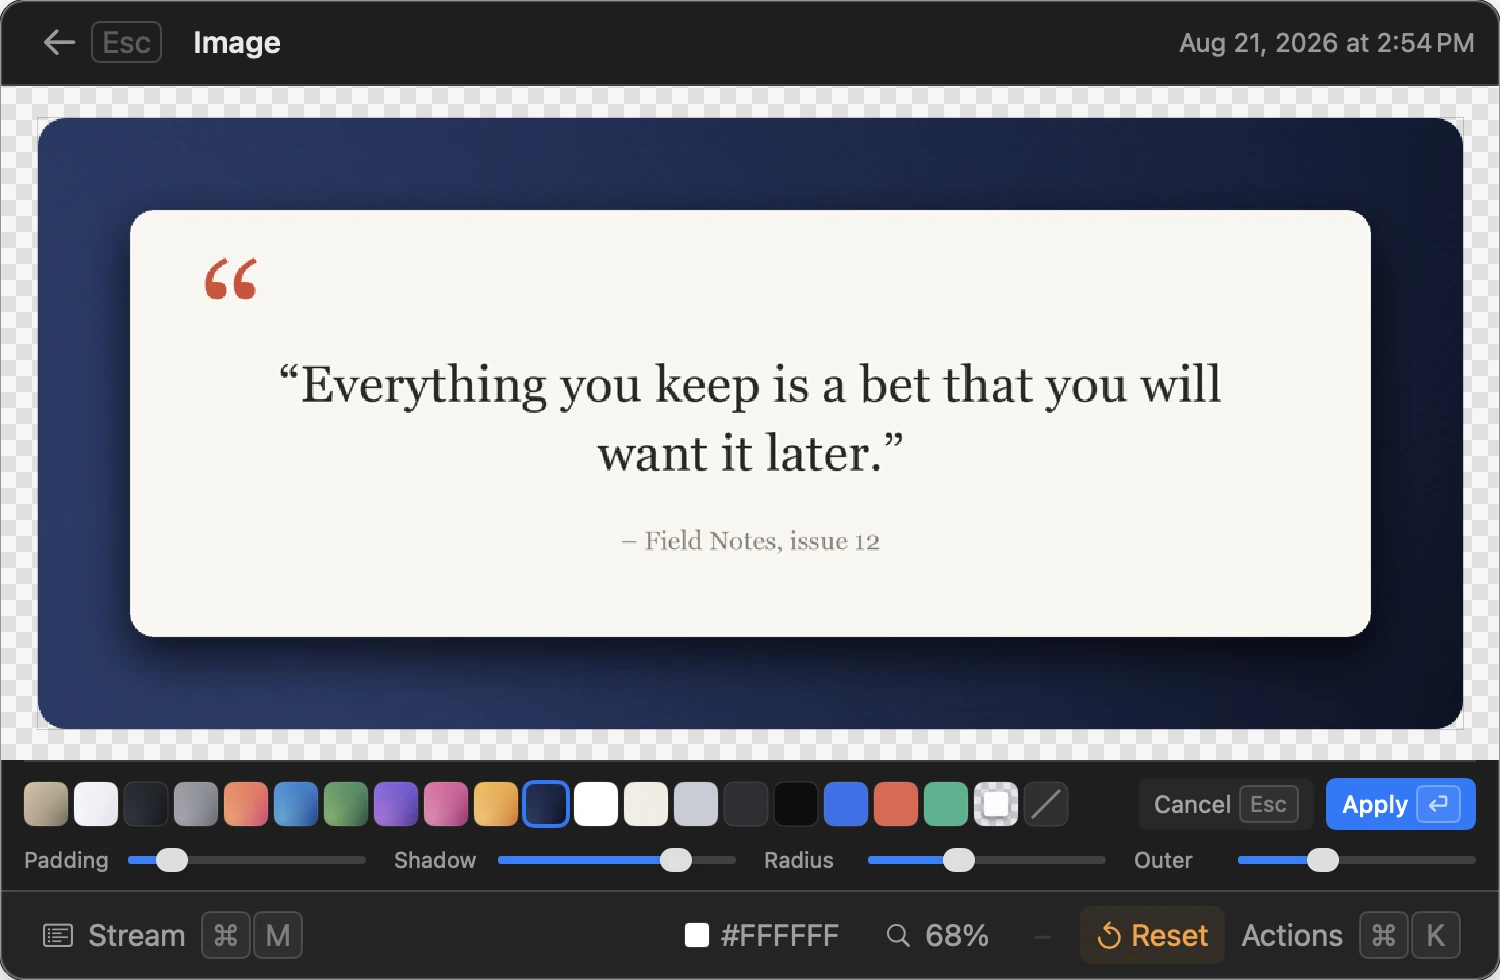
Twenty backgrounds sit in one row – gradients first, then flat colors, then Clear, which drops the fill but keeps the padding, corners and shadow: that’s how a picture gets rounded corners with nothing behind them. The first, Auto, is built from the colors already in the image, so it fits without hunting. Press a gradient a second time to flip it, R to shuffle, or a digit from 1 to 9 to jump straight to one.
The last chip, Off, is the absence of a backdrop rather than another one: picking it previews the bare picture, and ⏎ takes an applied backdrop off while leaving crops, resizes and rotations alone.
The sliders are Padding, Shadow, Radius – the corners of the picture – and Outer, the corners of the canvas around it. A window capture arrives with its corners already rounded, so Radius starts at zero for those and the shadow follows the real outline instead of a rectangle. Whatever you set is remembered for the next screenshot.
While the strip is open the picture can’t be selected and the size panel is off – nothing competes for ⏎, it means Apply and only that. Crop, Resize and Rotate come back the moment you leave.
The backdrop is baked into the image, so copying, dragging, sharing and exporting all give you the decorated picture with nothing extra to remember. Editing it later starts from the picture as it was before, so a second pass adjusts the same backdrop instead of framing the frame – and Crop, Resize and Rotate keep working on the picture inside it, not on the background.
Reset in the status bar goes further back than Off does: it returns the original file, crops and all. It is also the one edit with a way back: Undo appears in the status bar for a few seconds afterwards and puts the edited picture – backdrop, crops and all – back the way it was.
Around the tools
- Toggle OCR text (⌘ O) shows the recognized text instead of the picture; Copy OCR text (⌘ R) copies it. ⌘ C copies the image (or the current crop selection) normally; while the OCR panel is showing it copies the recognized text – the part you selected, or all of it if you selected nothing.
- ⌥ ⌘ C copies at the resolution the Copy Retina screenshots at 1× setting isn’t using – full resolution when it’s on, 1× when it’s off. See Copying at 1×.
- Preview (⇧ ⌘ P) opens the image in Preview.app at full size.
- Export or share the result via the Action Menu (⌘ K).